The Best Backpacks
Our expert testers perform extended comparative field tests and rate products on objective criteria to determine which are the best day hiking backpacks, backpacking backpacks, and hydration packs.
We divided our reviews of the best backpacking backpacks into overnight packs, which are designed for careful packers and short trips; weekend backpacks, which are ideal for trips ranging from 2 to 5 nights in length; and expedition backpacks that have 70+ liter capacities for large and heavy loads. We have also reviewed hydration packs, which are limited capacity packs primarily for carrying water, and day hiking backpacks, which are 15-29 liter bags that are best for day hikes. For practiced and aspiring ultralight hikers, we have also tested ultralight backpacks, which are 50-69 liter packs built for carrying minimal weight.
How to Select the Best Backpack For You
The Best Backpacks by: McKenzie Long
Your backpack is arguably the most important item you’ll carry on a backpacking trip because it will be what allows you to carry all your other gear and it is physically attached to your body for most of the day. You will feel its contact points on your body, the balance and fit will affect your balance and agility as you hike, and its features and access points determine how easy it is for you to use your pack throughout the day. We have broken down the hiking backpack selection process to five important steps. Mentally work your way through these steps, then read through our reviews that compare specific products, and we are confident that you will be able to find a pack that works for you.
1. Choose Your Average Trip Length and Capacity
The first question that arises when choosing a backpack for hiking is “what capacity (size) do I need?” The rule of thumb is that you should select the capacity based on the typical amount of time you spend in the backcountry and the average weight of your combined gear. Let’s start by looking at capacity in terms of average trip length. Ask yourself, what is the most common length of trip you take? Do you like to go for hikes that only last a couple of hours? Do you usually go hiking on the weekend for one or two nights? Or do you save up your vacation and head into the wilderness for a week at a time? Use your average trip length to select a starting capacity for your bag. We categorize packs in our reviews based on the suggested trip length:
Half Day Hydration Packs (0-15 liters)
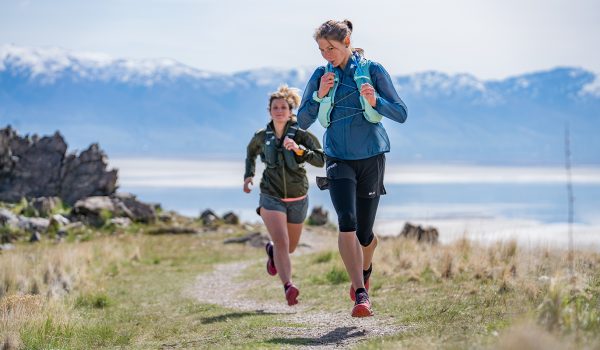
If your idea of a pleasant hike is a two to three hour excursion, you might be best served by a hydration pack. These small, simple packs contain hydration bladders with hoses for easy sipping while on the go, and usually have enough space for a wind jacket and a sandwich. This type of pack is ideal for half-day hikes when bringing water and snacks are a must, but you won’t need much else. Read our reviews of these handy bags to learn which hydration packs will suit you best.
Day Hiking Packs (15-29 liters)
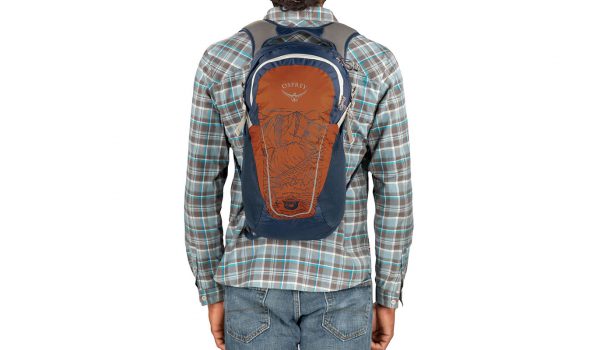
Packs for day hikes are smaller than overnight packs and are not designed for carrying heavy loads. These bags are ideal for carrying water, lunch and snacks, first aid kits, cameras, and extra layers, but won’t fit a tent and sleeping bag very well. Since day packs are not designed with overnights in mind, they usually are not stream-lined or particularly lightweight, and often come with plenty of features and pockets. Check out our daypack reviews to find the best day hiking backpacks on the market.
Overnight Packs (30-49 liters)
If you prefer to spend only 1-2 nights out at a time, you may be able to get away with an overnight pack in the 30-49 liter range. The advantage of using a smaller overnight pack is that the pack itself will be lighter and you will be less burdened with a large load. However, even when camping for only a night or two, you will still need to carry the same overnight gear as on a multi-night trip, such as tent, stove, sleeping pad, and sleeping bag. Unless you have small and lightweight versions of each of these items, you might find it difficult to squeeze into a 30 liter pack. Before you commit to one of these smaller packs for all of your overnights, make sure that all your gear fits into it with room for food, water, and layers. To see which overnight packs are our favorite, take a peek at our comparison review.
Weekend Packs (50-69 liters)
This size is the sweet spot when it comes to backpacking packs. It is the right size for the average hiker heading out for 2-4 nights at a time, and is the typical capacity chosen by hikers on long thru-hikes. This versatile size can expand to handle large loads and can also be compressed when carrying lighter and smaller kits. The packs themselves in this range are usually lighter weight and more streamlined than expedition packs, so you start with less weight. Most hikers will be able to find a pack in this capacity range that suits their needs. We have carefully compared some of the best backpacks for weekend trips, see which ones we ranked the highest.
Expedition and Extended Trip Packs (70+ liters)
Expedition packs have a capacity of 70+ liters and are designed for extended trips or mountaineering missions where you need to haul a lot of heavy gear. Most hikers embarking on an extended thru-hike of the Appalachian Trail or the Pacific Crest Trail will stick to lighter weight, smaller capacity packs such as the models found in our overnight, weekend, or ultralight pack tests. These larger packs are better suited to people who need to carry more stuff than the average hiker, such as those leading group trips who are carrying gear for more than one person, those traveling with dogs, people carrying lots of food and water for long trips or dry camping, and/or those carrying climbing and mountaineering equipment in addition to overnight gear. We tested a selection of expedition packs, reference our review to see which ones we think are top notch.
2. Identify Your Style of Packing
Once you have determined your average trip length and have an idea of the capacity you need, evaluate the rest of your gear to determine what style of hiker you are. Based on the type of gear you carry, you will want to increase or decrease the capacity that you chose for your average trip length. If you prefer “glamping” (glamour camping) and you want to bring comfort items such as a book, a camp chair, and wine, then you fall on the heavier side of the spectrum and will want a pack on the larger side of the capacity range with a few more comfort features for carrying heavier loads. If you obsess over gear weights, buy the lightest and smallest items you can find, and then count the grams of your entire kit, you can probably stuff all of your ultralight gear into a pack on the smaller side of the above capacity range. If you are like the average overnight hiker and choose your gear based on a mix of price, weight, and durability, you will probably fall right within our suggested capacity range. So take a look at your main hiking accessories and decide which of these categories you fall into and adjust the capacity accordingly to decide what size pack you should buy.
Comfort Camping
Though backpacking is often surrounded by endless discussion of weight, there is absolutely nothing wrong with being a comfort camper. Everyone hikes their own hike and enjoys the outdoors in their own way. For some, this means bringing things with a little extra cushion and bringing a few additional items that will make living easy. When it comes to pack selection, it is important to recognize that your average weight will be slightly on the heavier side of average. This means that you will want a pack with sturdy suspension and padded hip-belts, capable of comfortably carrying heavier loads. You should also slightly increase the capacity of your pack from your average trip length capacity to ensure that you have room in your pack for everything you plan to bring.
Lightweight / Average Weight
Lightweight is where the majority of overnight hikers probably fall. This type of hiker is conscious of weight and choosy with their gear, but isn’t obsessed with weight. This person will make an effort to buy lightweight gear, but occasionally will buy a slightly heavier version of an item such as a sleeping bag or stove because they want something more durable or less expensive than the fragile ultralight models. With an overall lightweight approach to packing, this person can then afford to bring a couple of luxury items such as a Kindle or an extra sleeping shirt. The average hiker will fall right in the middle of the capacity ranges that we discussed earlier, so you won’t need to adjust the capacity that you are looking for. Simply choose the right capacity pack for your average trip length. Most packs will still leave you a little room for expanding the load for longer trips and compressing if you lighten up or reduce the rest of your gear.
Ultralight
Ultralight backpacking is the outdoors version of minimalism: it is about getting by with less. You bring less items with you to begin with, choose the weight of the items you do carry carefully, and pack with discipline. This requires skimping on certain comforts and making wise decisions while out in the wild. You can only comfortably get away with a smaller and lighter pack if you also have smaller and lighter gear to go inside it, so don’t choose an ultralight pack as your only ultralight item. If you lean toward ultralight gear, you can get away with a smaller pack, such as the 30-49 liter packs in our overnight pack test, and you can choose a lighter and simpler model to contain your gear. This is usually an experienced backpacker who knows how to make the best use of the least amount of gear and still be safe.
3. Choose Your Preferred Features
Hiking packs are available with an almost unlimited number of features. Models range from packs laden with pockets, zippers, and gizmos, to bare-bones models that are essentially just tube sacks with straps. In general, we think it is better to choose a pack based on size, weight, and fit rather than being seduced by flashy features, but it is helpful to identify a couple features that are important to you and look for a pack that has those features. This will ensure that your pack has the convenience that you desire and will be easy to use and comfortable. It is important to note that the more features a pack has, the more it weighs. Lighter weight packs will be simpler and more streamlined. Our advice is not to look for a pack that adds on every possible feature, but look for one with the features that you cannot live without. For ultralight hikers, this may mean almost no extra features at all. Finding the right combination of features will hopefully land in you a weight range that is comfortable and not too bulky. Here is a list of common pack features that you may want to consider.
Hydration Reservoir Compatible
Most packs these days come equipped with a pouch to store a bladder and a hole to snake your hose through the back panel to allow for easy access drinking while you hike. Only the simplest ultralight models will skimp on this feature. The plus side of using a hydration bladder while you hike is that it is convenient and easy to stay hydrated. You will not need to remove your pack to take a sip of water. The down side is that it can be difficult to assess how much you are drinking and to ration for the rest of your day. Make sure you periodically check how much water you have left in your bladder and fill up when you have the opportunity.
Exterior Water Bottle Pockets
If you don’t like using a hydration bladder, then you will most likely want side pockets to stash water bottles. These pockets can be easy to access and are often positioned so that you can reach items in this pocket while still wearing the pack. Most hikers will choose one hydration system or the other, a bladder or bottles, but many packs come with both of these features so you can switch systems.
Exterior Mesh Pockets
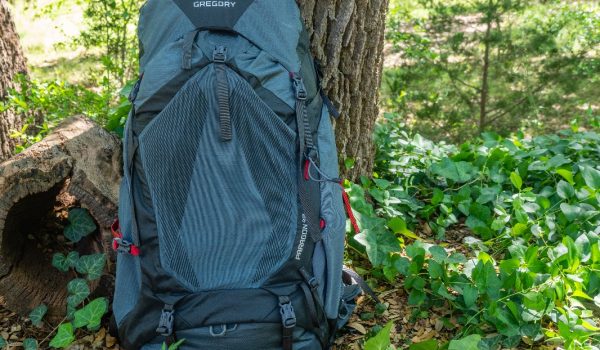
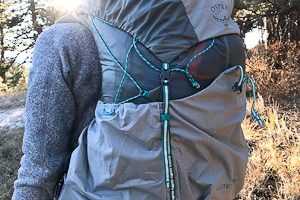
Stretchy mesh pockets are a fairly common, convenient feature. We found them on test models from Osprey, like the Volt and Stratos, and models from Gregory such as the Zulu and Paragon. Pockets like this are wonderful for stashing wet gear, such as your extra socks that you wore through a creek crossing, so they can dry throughout the day as you hike. This is also an ideal place to stuff extra layers or extra snacks for that you want to be able to grab easily.
Hip Belt Pockets
Some packs will have a simple piece of webbing for a hip belt. Others will have thick padded belts. Some packs will have zippered pockets on the hip belts, which make for convenient places to stash cameras and snacks that you want to access while walking.
Brain or Lid
Most popular bags come with a brain or lid, though the simplest bags will not come with a top compartment and will just have a cinch closure. A lid helps with pack organization and is a great place to keep small but important items like your headlamp and map, but it is not necessary for an organized pack. You can choose to be more proactive about organizing your pack contents and skip this feature, cutting down on some weight.
Sleeping Bag / Lower Compartment
This is a compartment on the bottom of the pack that allows you to stuff your sleeping bag into it without a stuff sack. Usually this involves a separate bottom zipper to access this compartment, and a fabric divider inside your pack. You will most likely be able to make your bag smaller and more compact with a stuff sack, but this can be one way keep your pack organized if you prefer this method.
Elevated Mesh Back Panels
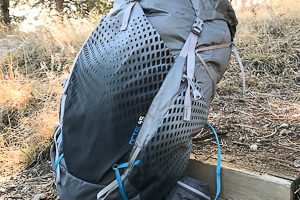
Mesh back panels are more luxurious than they are necessary, but they can make your pack much more comfortable to carry. Packs with this design will hold the pack away from your back to give it room to breathe, to reduce the chance of a sweaty back. The downside is that these back panels can add a significant amount of weight to the pack and move the center of gravity further out. Try on products from companies like Osprey and Deuter to feel what these panels are like.
4. Select the Correct Fit and Make Appropriate Adjustments
The most important factor for finding a comfortable pack is to size it correctly. If a pack is too large or small for your body, it will not sit on your shoulders properly and will not move with you, making for an awkward and uncomfortable carry. After you have chosen the capacity and features that you want and you have your eye on a specific model, you need to select the correct fit size (not to be confused with capacity). Most packs come in small, medium, or large sizes, which are based off of your torso length, not your overall height.
The first step to figuring out your correct size is to measure your torso. Bow your head forward and feel the back of your neck to find the bony bump where your neck meets your shoulders. This is your C7 vertebra and is where your torso measurement begins. Then put your hands on your hips and find your iliac crest, the top of your hip bones. From there, reach around your body to find your spine. Where this horizontal line crosses the center of your back is where your torso length measurement stops. Now that you have identified these two points, have someone help you measure the distance between them along your spine to find your total torso length.
Now you can determine if your torso length equals a small, medium, or large in your chosen pack. If you are comparing a few different models, make sure to check the size range for each brand. Not every company uses the same torso length range to determine their sizing, so it is possible to be a small for one brand and a medium for another. Occasionally, manufacturers make packs with adjustable torso lengths, such as the Arc’teryx Bora AR 50. This allows one model to fit a wider range of people (especially a child who is still growing). Even if you choose a pack with an adjustable torso, make sure that your torso length fits within this range before you purchase it, and adjust the length properly before you do anything else with your pack.
Once you have found the appropriate size, customize the fit and comfort of your pack by making micro adjustments on several different points. Most of the following points are adjustable on just about every pack, but there are always a couple of exceptions.
Hip Belt
When you are carrying your pack loaded with gear, most of the weight should be on your hips and not your shoulders, so it is important that your hip belt fits appropriately. If the hip belt that came with your correctly sized pack is too small or too large, you can usually swap them out for one that is the correct size. When you put your pack on, the hip belt should wrap around your iliac crest. If it is too high or low, you can adjust your shoulder straps so that it sits at the appropriate height. Tighten the belt so that it is snug but does not pinch.
Shoulder Straps
Shoulder straps help you adjust where the pack sits on your body. When you put the pack on, pull down on the straps to fit them snugly around your shoulders. Remember that most of the weight should be felt on your hips and not on your shoulders. The attachment point where the straps meet the back panel of the pack should sit a couple of inches down your back and not directly across from the tops of your shoulders.
Load Lifters
Load lifter straps are the thin pieces of webbing that connect the tops of your shoulder straps to the upper back panel of your pack. Ideally these should be tensioned so that they reach up from your shoulders at a 45-degree angle. Tightening these appropriately can help you carry the weight of your pack in a comfortable manner, preventing the pack from swaying away from your body and forcing you to lean forward into the weight.
Sternum Straps
The sternum strap connects your shoulder straps across the front of your body. Most packs allow you to adjust the height of this strap. Slide it up or down so that it rests at a comfortable place across your chest. Tighten it so it is snug but still allows for freedom of movement.
Compression Straps
The final adjustments you can make to improve the carry of your pack are the compression straps. Though these don’t affect the fit of your pack, they do improve the balance of your pack once it is loaded. These are the straps that criss-cross or wrap around the sides of your bag. After you have packed everything you need appropriately, cinch these straps down to eliminate empty space and to hold everything in place. Tightening the compression straps can prevent things from rocking around in your pack as you walk and make the weight on your back more solid and balanced.
5. Consider Price
Price typically has nothing to do with the quality of a product, and we usually evaluate how awesome a piece of gear is outside of its price, however price is a dominant concern when shopping. This is our final consideration for choosing the right pack. If you have worked your way through our five steps to finding the perfect pack, at this point you will know exactly what capacity you need, the feature set you want, and the correct size to fit your body. Now that you have narrowed down your search, you can see which products on the market fit your needs, and then compare them based on price and your budget.
Most people establish a budget to assemble their overnight hiking kits, and the price of every item is carefully considered. If your budget is tight, the expensive $400+ Arc’teryx models that earned the highest scores in our overnight and weekend pack tests would be out of the running. In this case, some of the less expensive but high-performing models from Osprey, Deuter, and Kelty become more attractive.
In general, our advice is to purchase what you can afford, but don’t always go for the least expensive product you can find. It is worth a little extra cash to get a product that is exactly what you want and will keep you happy and hiking for seasons to come.
Hopefully these steps have helped you determine exactly what you are looking for in a hiking backpack. Now comes the fun part: finding your dream product and putting it to use on the trail! Read our comparative reviews to learn which are the best backpack brands and the very best products on the market.
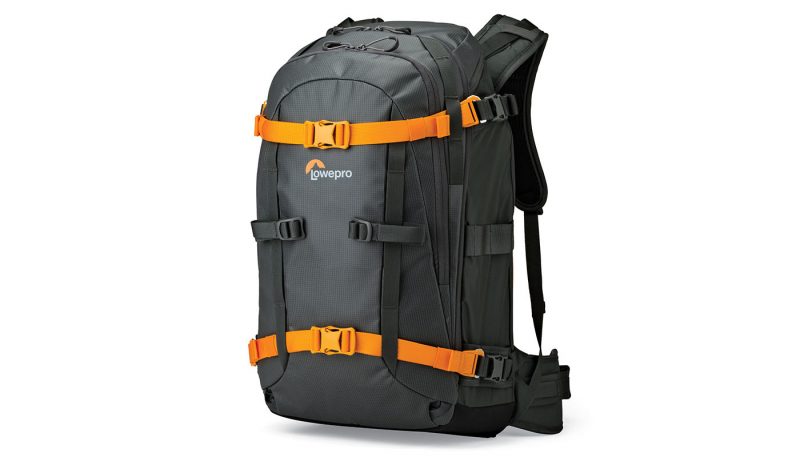
The Lowepro Whistler AP350AW is the most usable pack of the test for aggressive outdoor pursuits, in harsh environments and inclement weather. The protectiveness and ruggedness of the Lowepro Whistler AP350AW inspire confidence that gear will survive any outing with the ActiveZone harness ensuring a stable ride even during gravity assisted travel. The Lowepro Whistler AP350AW is also the only pack of the test that will carry skis or a snowboard but is limited to day use as the total capacity of non-camera gear is limited.
Best For Camera Gear Access
MindShift Gear Rotation180 Horizon 34L
Backpacks, Camera Backpacks & Hiking & Camping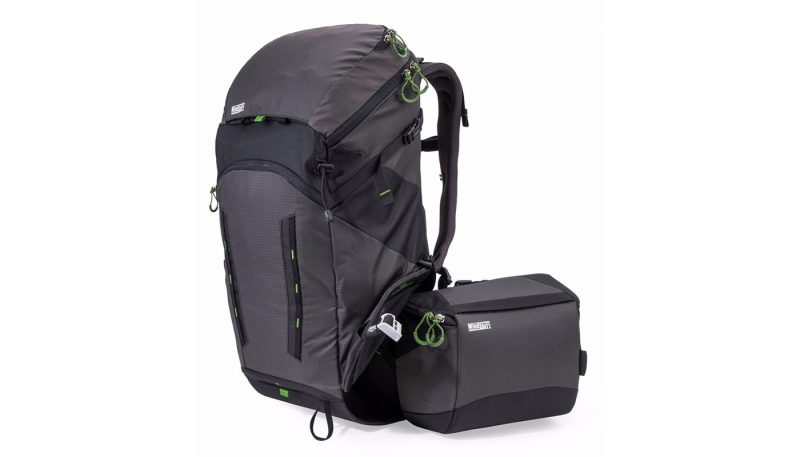
The MindShift Gear Rotation180 Horizon 34L standout feature is the Rotation180 system which allowed access to camera gear without taking the pack off, making it ideal for outdoor adventure oriented photography. The suspension system carries well for aggressive hiking, and the low overall weight is a bonus.
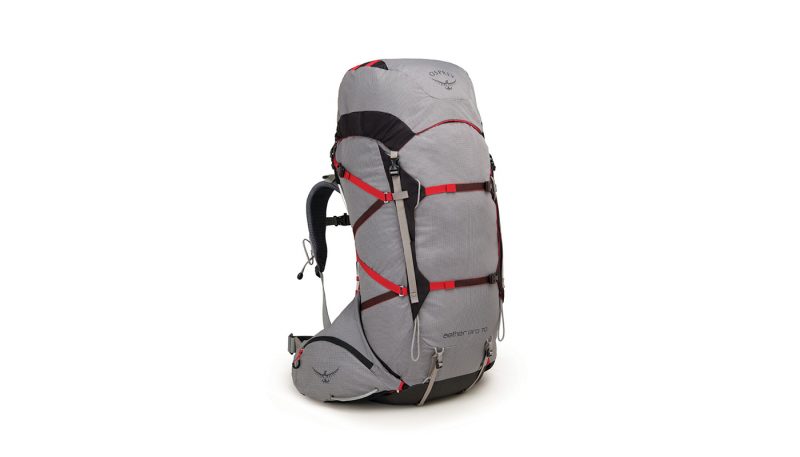
The Osprey Aether Pro 70 offers great comfort and durability in a lightweight design. The Aether gives hikers plenty of storage space, allowing them to carry all the gear they’ll need or want on a long, multi-day trek. The pack also offers a wide range of adaptability, making it suitable for weekends as well as week-long adventures.
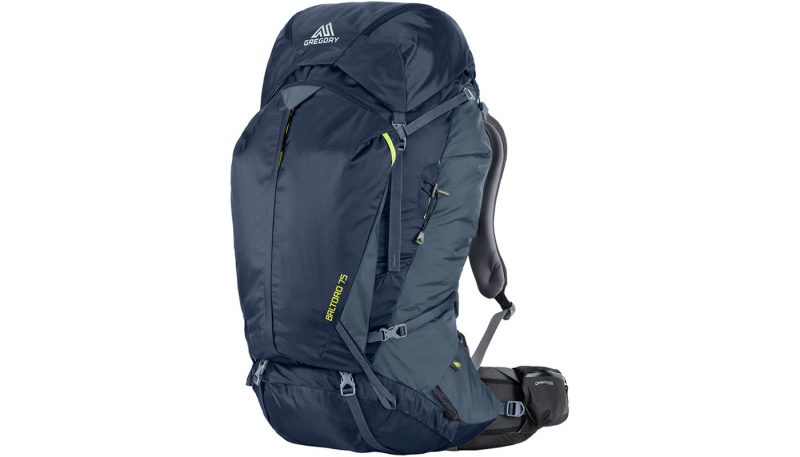
The Gregory Baltoro 75 earned our trusted as a valid choice for long trail missions thanks to good comfort, quality construction, and thoughtful design. It sank a bit in our ratings due to the weight that comes along with its burly construction.
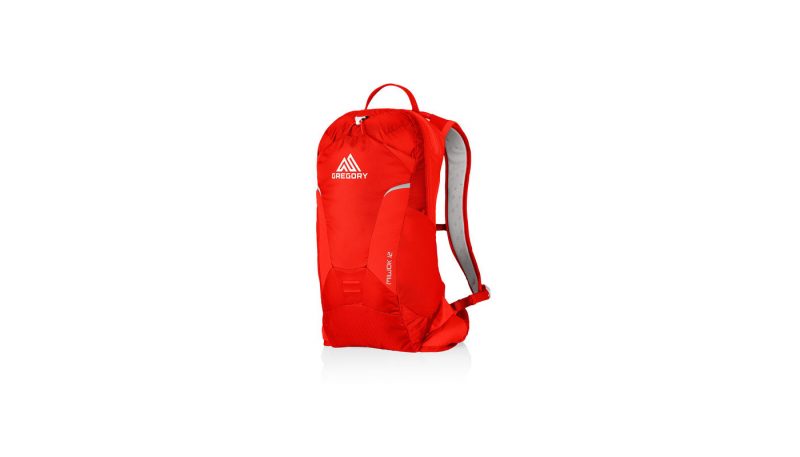
The Gregory Miwok 12 is very good all-round day pack that is comfortable and is easy to use. Good ventilation, twelve liters of space, effective hydration features, hip belt pockets and deep side pockets makes this a favorite and versatile half-day pack.
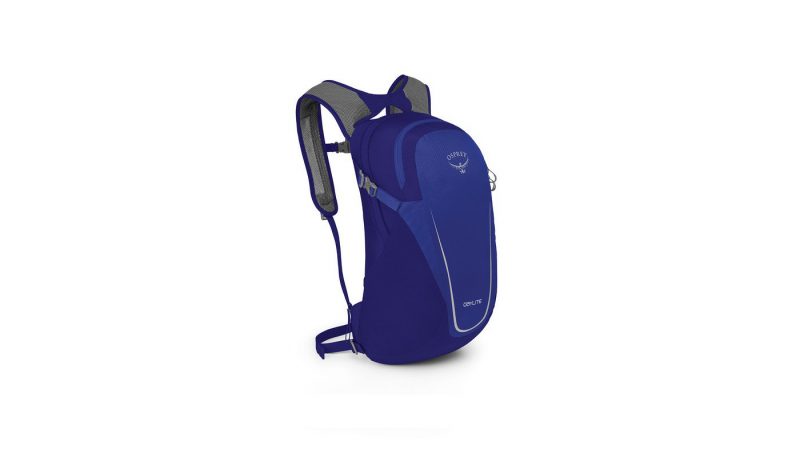
The Osprey Daylite is a versatile and comfortable pack for day hiking, as a carry-on travelling and a light commuter around town. Thirteen liters of volume provides ample room and the hydration system is comfortable to wear and easy to refill. It’s not ideal for use with water bottles—they’re prone to fall out of the side pockets.
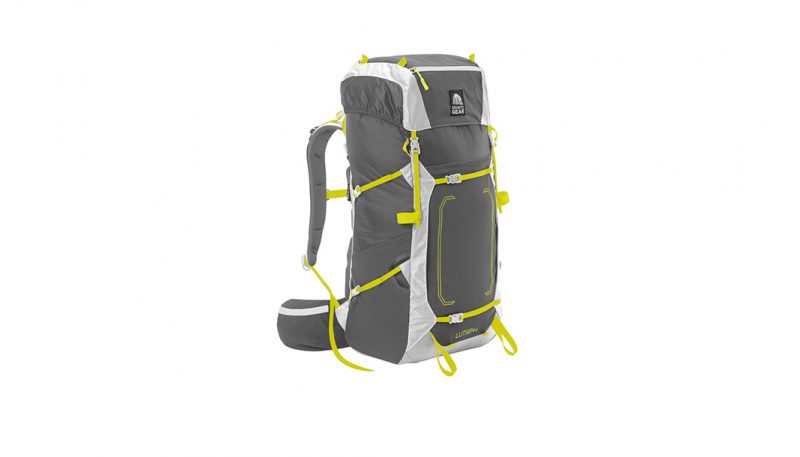
Granite Gear’s Lutsen 45’s polycarbonate frame sheet stabilizes and transfers loads extremely well while the easily adjustable torso length and hip girth allow quick changes on the trail. Although not a superlight long weekend pack, the Lutsen 45 can carry heavier or winter loads into the backcountry with ease, allowing more flexibility and options in your packing strategy.
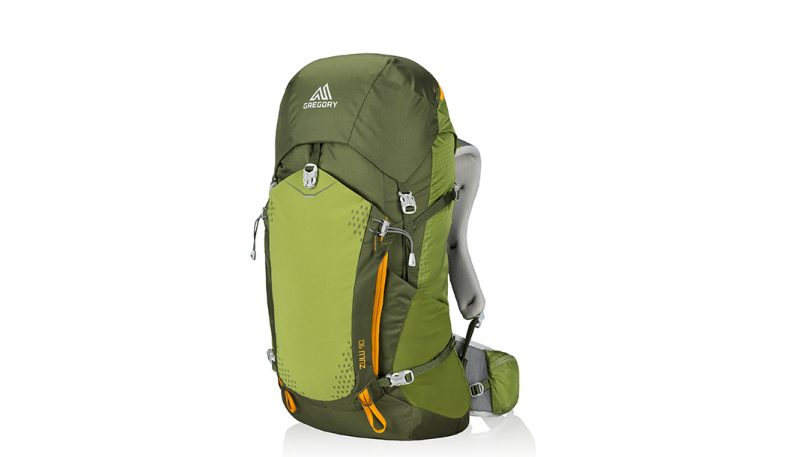
The Gregory Zulu 40 is a very stable pack, even with heavier loads approaching 35 pounds. The rigidity of the suspension system combined with spot on ergonomics and padding in the shoulder straps and hip belt allow a comfortable carry with heavier gear, while the ventilation system keeps air moving over much of the back. Mobility is hampered by the torsional stiffness of the suspension system, making this pack better suited to trails, not alpine scrambles.
Best in Class
Mountain Laurel Designs Exodus 58
Backpacks, Hiking & Camping & Ultralight Weekend Backpacks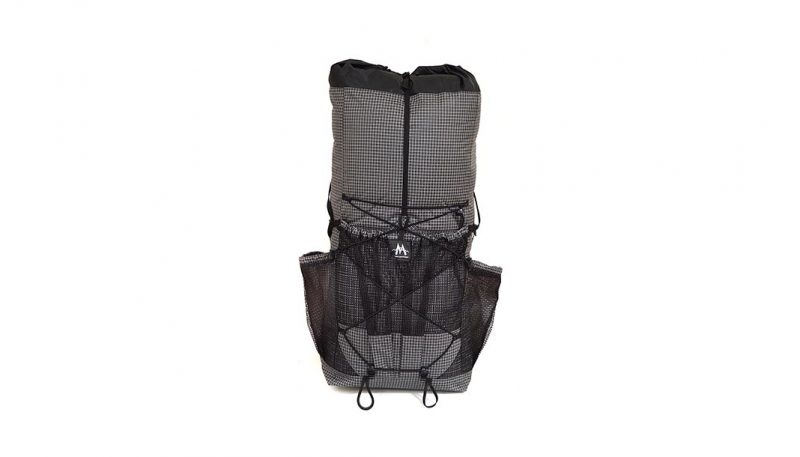
The Mountain Laurel Designs Exodus is by far the lightest pack in the test group and its lightweight and durable materials can stand up to a severe beating. Pack weights above 25 pounds see a proportionate decrease in comfort since weight rests entirely on the shoulders. It can be filled to the limit of the extension collar or cinched and rolled down tight to accommodate a smaller load. This pack is tailored to long distance backpackers looking to minimize the weight of the gear they carry.
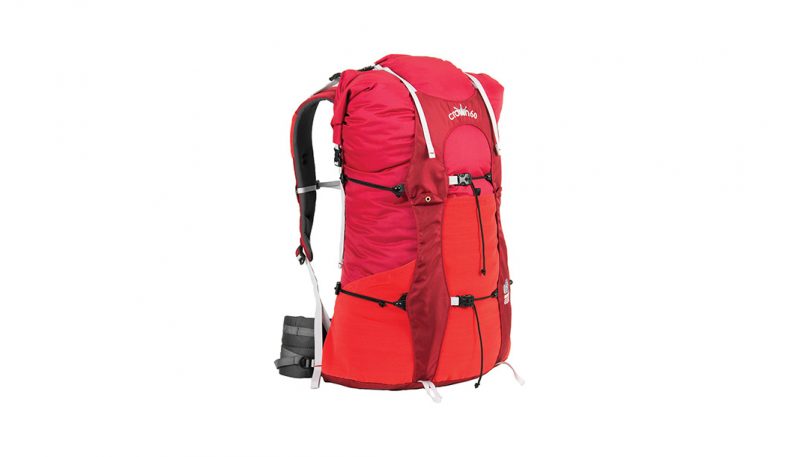
The Granite Gear Crown V.C. 60 is designed for extended backcountry expeditions and gracefully balances storage and comfort. Its carrying capacity and well designed side pockets stand out from the rest of the test group but certain aspects, like the limited back pocket and large waist belt, keep this pack from reaching its full potential.
Most Organized
Mystery Ranch Sphinx 65 Backpack
Backpacks, Hiking & Camping & Overnight Backpacks (30-49 L)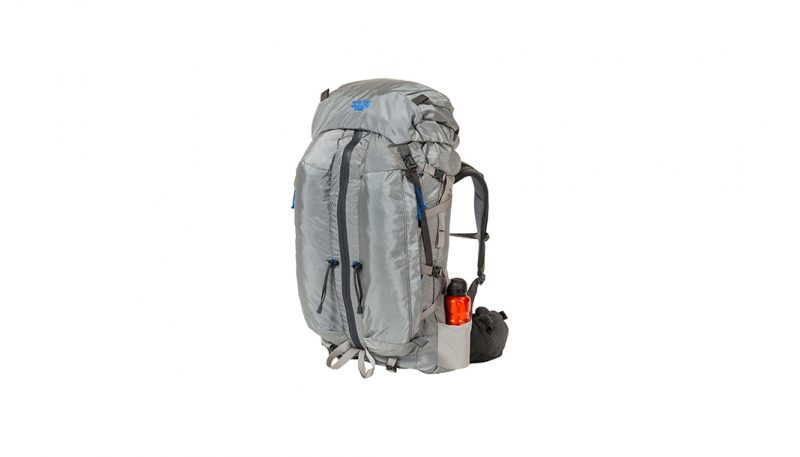
The Mystery Ranch Sphinx 65 backpack provides great organizational features, comfort and stability for weekend backpackers or extended expeditions. This pack performed very well when compared to other packs in this category.



 89
89 