When you go out on the water, you need your dry bag to do what its name promises. But if it happens to fail, chances are you’ve made a mistake somewhere along the way. We asked a couple of dry bag experts — Chuck Kollin, distribution administration assistant for SealLine, and Barry Robertson, education and product information specialist for Sea to Summit — how you can keep your dry bags in tip-top shape, and what to do if your bag springs a leak. Here’s their advice.
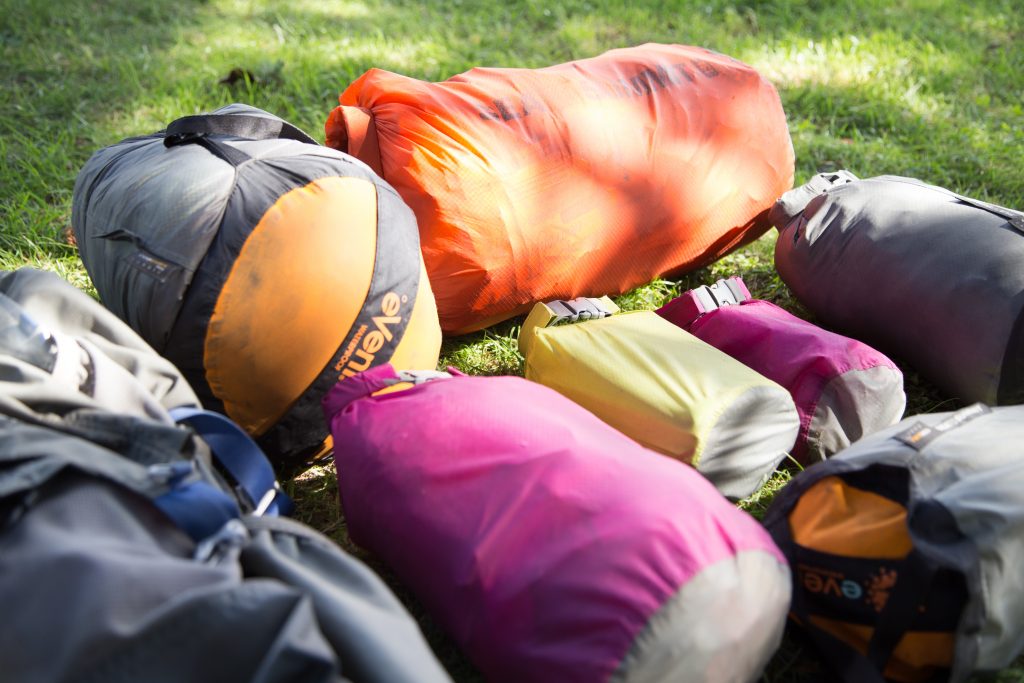
Don’t throw, shove, squeeze, drop or drag your dry bags. Even though they’re made of thick, coated fabric or PVC, they’re not quite as rugged as they seem, and they need to be treated gingerly for best results. A tiny tear can compromise even the biggest and burliest of bags. So, avoid throwing your bag into your boat or shoving it under your seat without paying attention to things that could catch.
Wash them after use, whether they appear dirty or not. “There’s a lot of fine grain sand suspended in water, and it’s so fine you can’t see it,” said Robertson. All those little particles can work their way into the fibers of your bag and wear away the waterproof coating. Washing your dry bag inside and out — and drying it thoroughly — every time you use it will help extend its life. “Clean with common sense,” Kollin suggested, “just like you’d clean a water bottle.”
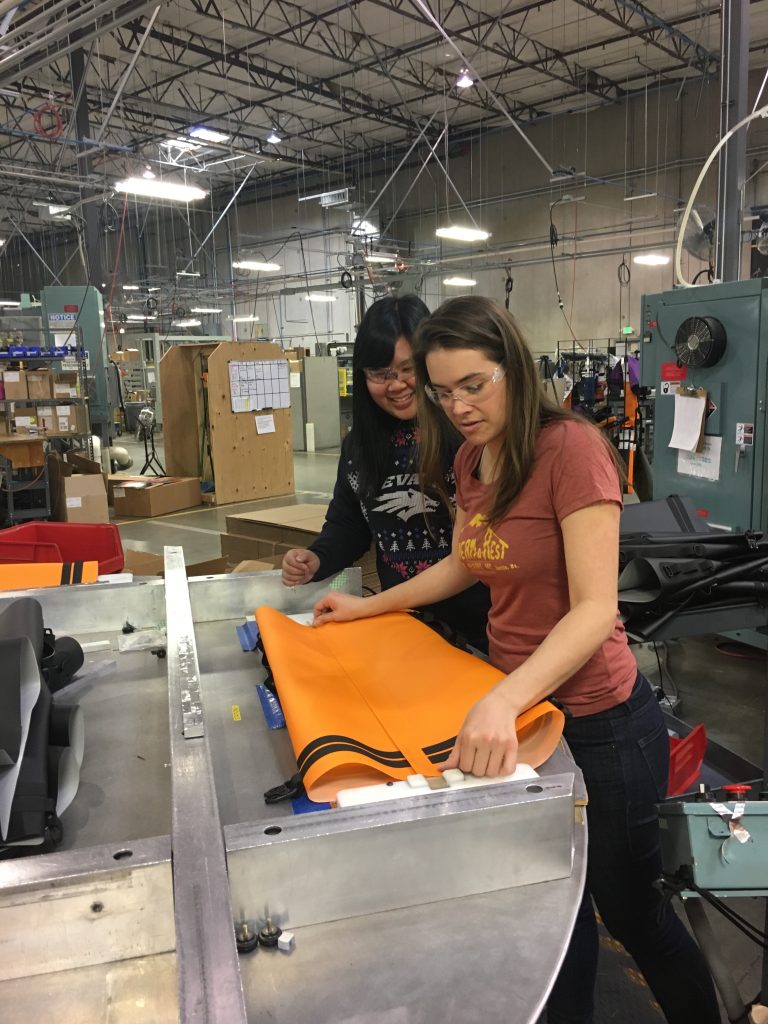
Store them dry. Damp clothes or moisture on other gear can quickly turn moldy when left inside your dark, airtight bag. Turn damp bags inside-out, when possible, to keep mold from growing and eating the coating on the bag. Need to kill mold? No need to use harsh cleaners. Clean with a home-made mixture of lemon juice, vinegar and water. Wipe it on the mold spots, let it dry, then go back over it with water, Kollin said.
Don’t leave them in the sun. Just like UV rays are harmful to you, excessive exposure to the sun can wear down dry bags, too. Keep them in a cool, dry place when you’re not using them.
Keep solvents far, far away from your dry bags. Solvents eat away at dry bags in an extremely noticeable and messy way, and they can destroy your gear fast. Deet, sunscreen, alcohol and gasoline, for example, can cause the laminate on a dry bag to peel away, rendering it totally useless. “The fabric will go sticky and separate from itself,” Robertson said, and once that happens, there’s no turning back. It’s risky for your other gear, too: Say a fuel canister or bottle of bug spray leaks in your dry bag. It could fuse your clothes or other gear to the dry bag itself, ruining everything it comes in contact with. “I would throw them [solvents] into the cheapest bag I could lay my hands on,” Robertson said. “That way, I know that if something were to spill, it wouldn’t be in contact with my expensive gear.” Use common sense here, too, Kollin suggested: “Anything that’s harmful or fatal if swallowed, or ends in –ine, like gasoline, keep that away.”
Stuff your bag full. Dry bags work best when they’re jam-packed (but not overstuffed), said Kollin. Rather than stuffing them with lots of hard items that lead to air and empty space, like a bunch of camera equipment, fill empty spaces with clothing. You want there to be some pressure internally as you roll the bag and clip the enclosure, he said.
Regularly check your dry bags for leaks. “Be aware that as the end user, it’s your responsibility to test the bag from time to time for leaks,” Robertson said. Test it by filling it up with water and checking for leaks. You’ll be glad you went to the trouble if you can patch a leak before you find out the hard way, with wet clothes and gear.
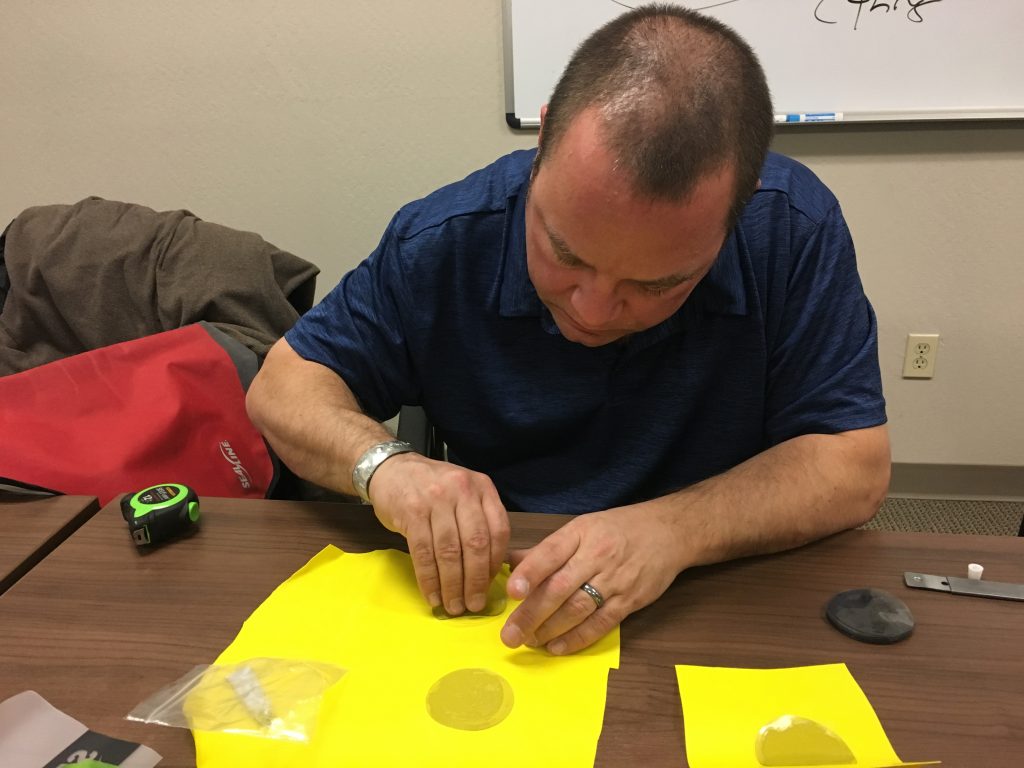
Repair punctures, tears, and holes with patches and SeamGrip. Cover the hole or tear with a patch that extends at least half to three-quarters beyond the area that needs to be repaired, Kollin said. Clean the area with soapy water or isopropyl alcohol — using a small amount that evaporates quickly isn’t a danger to your gear — and prime the patch by covering it fully. Robertson suggested using SeamGrip. Take care not to get the adhesive in contact with anything else, because once it’s stuck to something, you may never be able to get it off. Whenever possible, put patches on the inside of the dry bag and trim excess patch material to decrease the risk of snagging. Be sure to use “like” materials when patching, as not all dry bags are made of the same material.
Know when your bag is beyond repair. “If materials are pulling apart or welds give way, it’s time to replace,” Kollin said. SealLine uses RF welding to keep seams together rather than sewing or taping them, and their welds are always under warranty. “It’s very rare for there to be a manufacturer error from any of the brands you can think of,” Robertson said. Usually, it’s user error that leads to replacement, he added. “It’s like any other piece of gear,” Kollin said. “You treat it right, and it’ll take care of you.”


