


My wife has been my main climbing partner since 2007. So when, in early 2011, she walked into my home office holding up a pregnancy test with a little “plus” sign, I knew I would need to dial in a self-belay system—and quick.
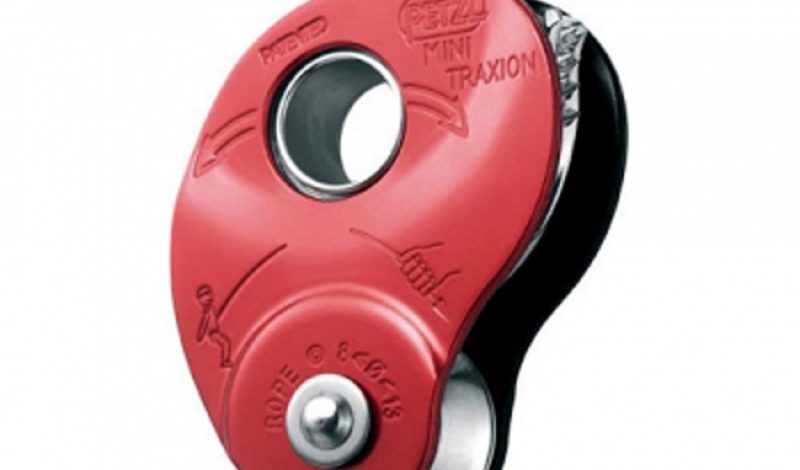
Enter a pair of red-and-black Petzl Mini Traxion pulley/ascenders. Big-wall free climbers like Tommy Caldwell, Justen Sjong, and Chris Weidner prefer these for solo toproping. These guys would know: they routinely hiked around El Cap carrying heavy-as-hell 100-meter static lines, rapped in to fix the ropes on VI 5.13 and 5.14 climbs like Magic Mushroom and Golden Gate. They sussed the beta on Mini Traxions because it was far more time-efficient and predictable than heading up with a partner. In fact in 2008, I’d through a spotting scope watched Caldwell and Sjong simul-Mini Traxioning the overhanging upper half of Magic Mushroom, with its blank 5.13 and 5.14 stemming corners, razor-thin cracks, and bomb-bay chimneys. Each climber worked a separate pitch, one man above the other, then they’d meet at the belay stations to eat, hydrate, regroup, and swap beta. If one pitch was particularly recalcitrant, they might rap down and work it again. Josh Wharton similarly used Mini Traxions to suss out the the route’s crux on his seven-pitch Black Sheep (5.13) in the Black Canyon of the Gunnison, Colorado, before returning with partners.
Throughout my climbing career I’ve toyed with different fixed-line self-belay techniques, but many have had dangerous risks. I needed to learn to use my Mini Traxions.
There are already some great how-to resources online, in particular a blog posting at Steph Davis’s site High Infatuation. I also had Weidner give me a tutorial in the Flatirons, and it’s this particular permutation that I’ve stuck with.
Since dialing in this system, I’ve found the Mini Traxions to be consistently reliable, easy to use, and versatile on all angles and terrain. Always go with two, so that you have a backup for your top, primary Mini Traxion.
Here’s how I do it:
Note: Climbing is dangerous. Solo climbing is particularly dangerous. You assume all personal liability for risk incurred while climbing, including with the self-belay method described below. This is not meant to replace professional instruction nor Petzl’s official product literature, and we can’t guarantee we didn’t leave out a crucial step that will send you hurtling to your doom (although we certainly did our best!). Neither the author nor the Gear Institute assume liability for any injury or death that might occur.
Ten Easy Steps to Mini Traxioning
1. Anchor a nice, beefy static rope to a bombproof anchor point below the lip of the crag. (A static line limits stretch and will stand up to the toothed cams of the Mini Traxion better than a dynamic rope. Note that the Mini Traxion is designed for ropes from 8mm to 13mm.) You don’t want your rope running from an anchor back over the lip and then down the face, as it can abrade or cut when weighted at this 90-degree angle. In many cases, this might mean rapping down to an anchor first and fixing your rope again from there.
2. Rap down or walk around to the base; whatever’s easiest.
3. You’ll rig your top, primary Mini Traxion first. This is the first one to catch in a fall, while the lower one serves as backup. If you cross–load the first Mini Traxion it can become damaged. Steps 4 through 6 explain the process.
4. Build a “chest harness” out of two sewn shoulder-length runners—one over each shoulder, X-ing across your breastbone. This chest harness doesn’t bear any weight; it serves only to keep the locking carabiner for the top Mini Traxion upright, so that the pulley slides freely along the rope and you reduce the risk of cross-loading. (For further safety, you could also use a real chest harness [link to one].)
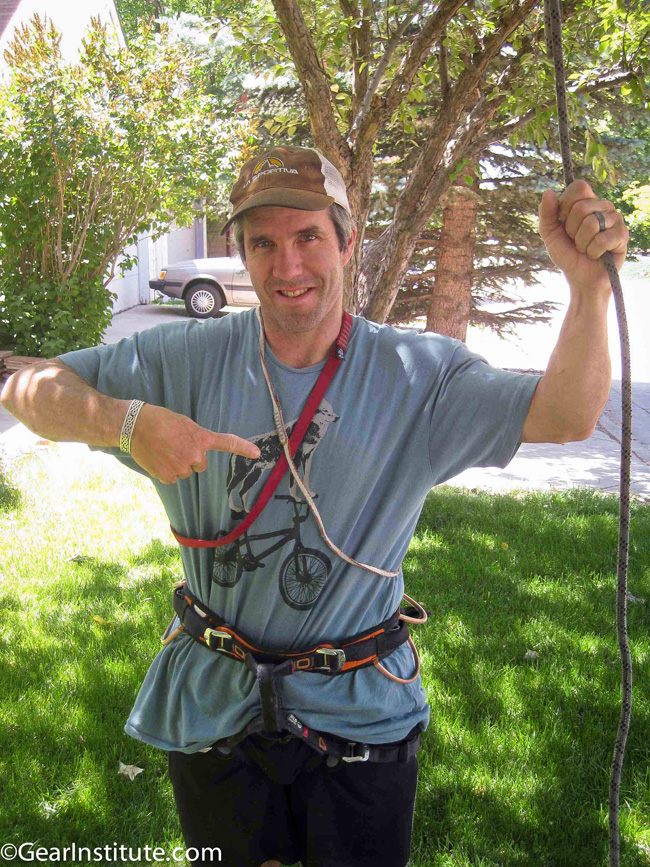
The two shoulder slings forming the “chest harness” X.
5. Thread your rope through the Mini Traxion as per Petzl’s instructions (the device has a handy diagram), close it, and engage the trigger cam. Clip it into your belay loop with a locking carabiner and lock the locker. It’s critical to use a carabiner designed to prevent cross-loading like the DMM Belay Master:
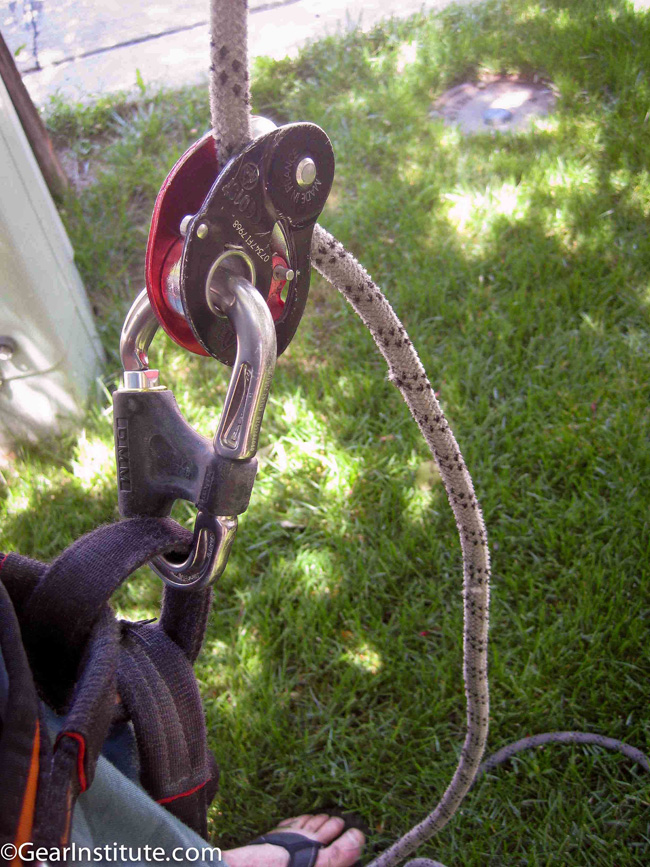
Your top Mini Traxion and an anti-cross-loading locker: locked, cammed, and ready to rock.
If you don’t, and you fall and cross-load your Mini Traxion biner, the force might spring/bend the device open—potentially catastrophic without a backup. (Which is why—duh!—you should always have a backup.)

What happens when you cross-load a Mini Traxion—no bueno! [Photo: James Lucas]
6. Thread a small cinch strap (available at any outdoor store) through the X on your chest harness and then through the Mini Traxion’s clipping eye. Tidy the strap up and tighten it down; this attaches the pulley to your chest harness and helps keep the locking carabiner upright and Mini Traxion oriented nicely. Again, there is no holding power in this part of the system, so you can use any old cinch strap.
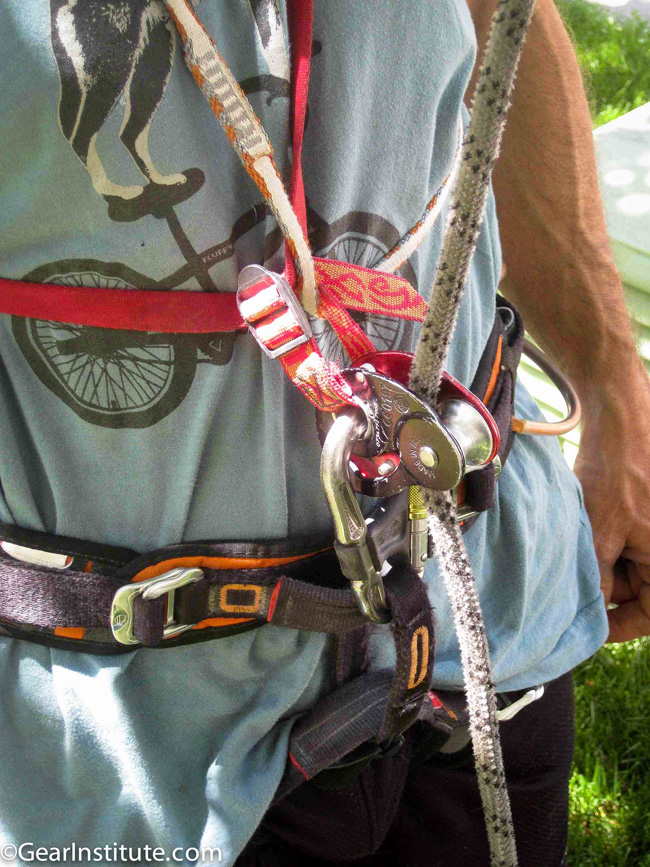
The cinch strap that connects the top Mini Traxion to your chest harness.
If you don’t have a cinch strap, you can use a 24cm 8mm ultralight Dyneema sling (like Petzl’s ST’ANNEAU) and locking carabiner.
7. Rig your bottom Mini Traxion by threading it, closing it, and engaging the trigger cam; clip it into your belay loop with a locking ‘biner below the upper Mini Traxion and lock the locker. Use a screwgate oval-shaped carabiner (and not a D-shaped carabiner) to minimize the risk of cross-loading. You may need to disengage the cams on either or both Mini Traxions to feed enough slack through to clip them in in an orderly fashion, but once you’ve done so immediately re-engage the cams on your Mini Traxions!
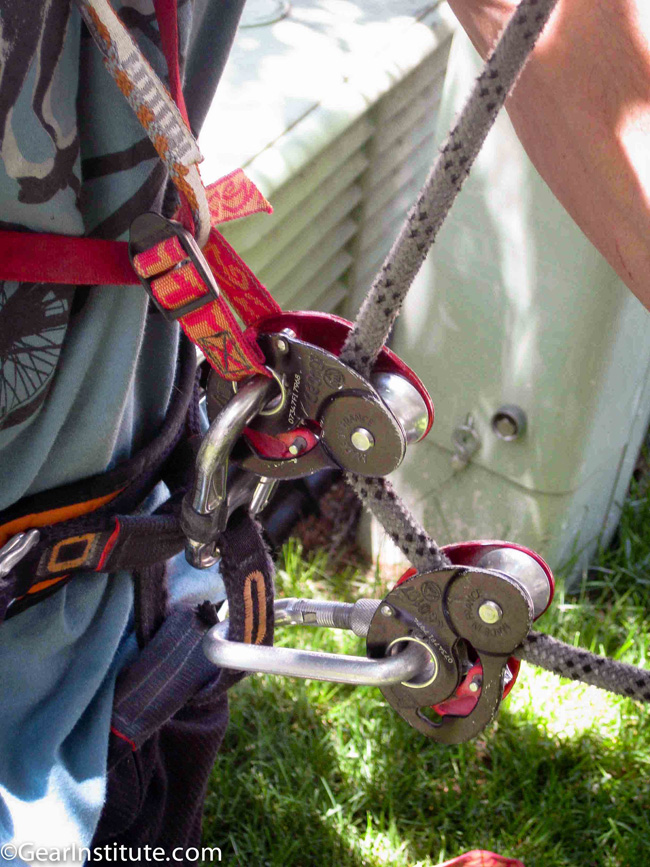
Bottom (backup) Mini-Traxion: locker locked, cam engaged, ready to rock.
8. Double-check that the trigger cams on both Mini Traxions are engaged! Now get yourself up the rope a little to sit back, test your system, and remove any excess slack. I made the mistake my first day out of neither engaging the cams nor double-checking them, and it’s a good thing that the route I was on was well below my limit, as the pulleys slide along the rope much the same whether engaged or not. (When cammed, they’ll make a reassuring raspy/mechanical sound you’ll soon learn to recognize.)
Sit down on your rope to test the system and remove any excess slack. Everything A-OK? You’re good to go!
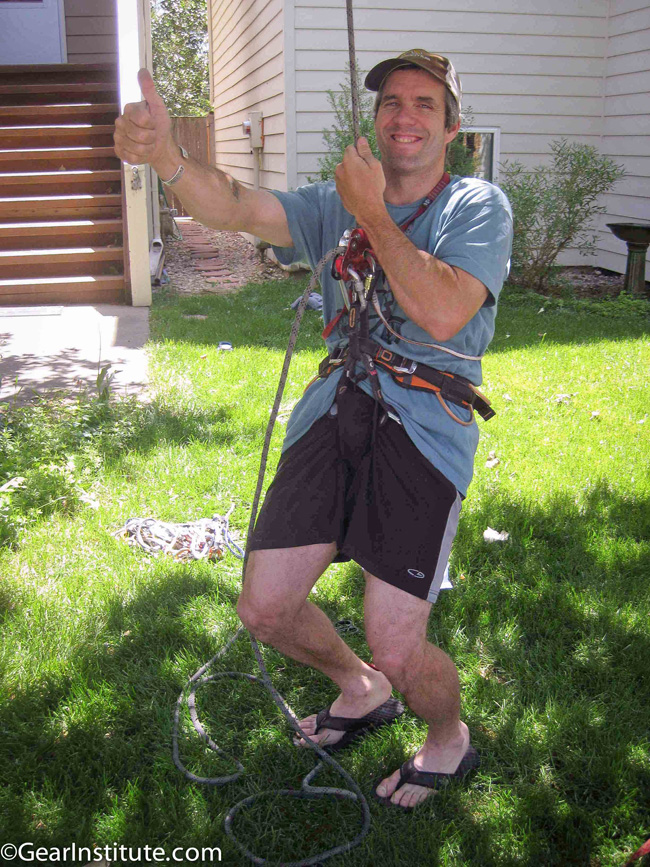
9. Finally, just before climbing, you can attach a few pounds of weight to the rope just up off the ground, so that the Mini Traxions have some resistance down low and you don’t have to manually pull slack through. (They will slide better the higher you climb, due to the increased weight of the rope.) I usually clove in my crag pack or a rack of quickdraws or trad gear.
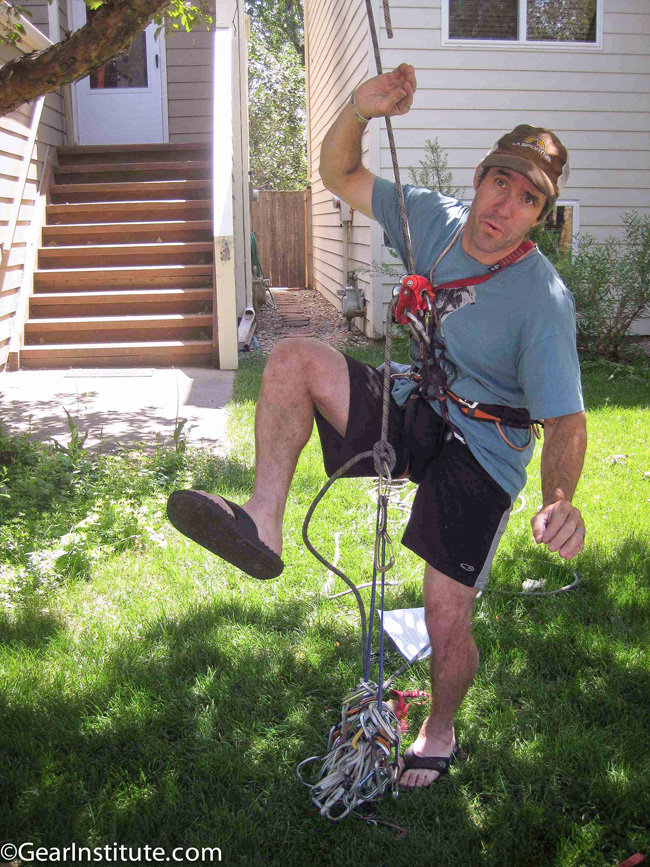
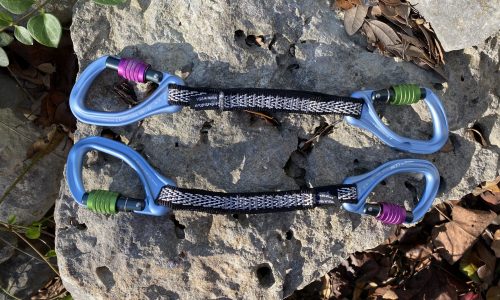
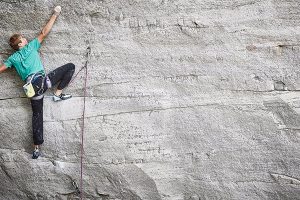
You can clip a little weight into the bottom of the rope—in this case a rack of quickdraws—and off you go. In this photo, I am air-climbing 5.15c/d.
10. Climb to the top and clip into the anchor directly; you can back yourself up with a Grigri below the Mini Traxions if you wish, as you’ll likely use the Grigri to rap anyway. Now introduce slack into the line to un-cam/de-rig your Mini Traxions, which you can do either with slack fed through the Grigri, or by pulling up rope and stepping on it or clove hitching it off to your harness. Rap down for another lap, move your rope to another climb, etc. Repeat as necessary until totally pumped. Go home and change diapers!
A few final tips: