


How to Choose a Climbing Rope
The climbing rope is responsible for saving thousands of climbers’ lives every single day. No piece of gear more important. It’s not only your lifeline, but a link to your partner—and your ticket to a wild, high place. It’s a metaphor for everything that is truly meaningful in this vertical sport. It’s also a pretty cool piece of gear.
History
Early climbing ropes (from the 1700s up to the 1930s) appeared around alpine villages like Zermatt, Switzerland, and were made of braided hemp, flax, manila, cotton or horsehair. These early experiments resulted in climbing cords with terrible strength-to-weight ratios, poor durability and low elasticity. They snapped in falls easily, often resulting in tragedy. The mantra of the era, “The leader must not fall,” wasn’t just a catchy phrase.
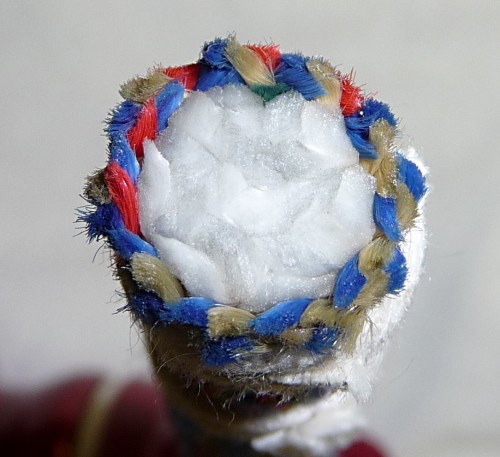
World War II was a catalyst for innovation in the climbing world, with advances made in carabiners and pitons. However, nothing revolutionized climbing as greatly as the introduction of ropes made of nylon, a material Arnold Wexler of the U.S. Bureau of Standards concluded, in 1945, was superior to all other materials for this application. In 1953, the German rope manufactuer Edelrid introduced the kernmantle rope, an even bigger innovation that resulted in extremely durable ropes that didn’t kink or twist—and best of all, they could handle repeated lead falls. A kernmantle rope has a strong braided-nylon “core” of strands (the kern) that are encased within an abrasion-resistant sheath (the mantle). All modern climbing ropes now use the kernmantle design.
Now
Today, climbing ropes are extremely reliable. “The leader must not fall” has been replaced with “If you don’t fall, you’re not trying hard enough!” There are over 100 different climbing ropes on the market, all of which come in various lengths, diameters, and categories. It’s important to understand how ropes are classified before making a purchase. Here is a basic primer for getting onto the sharp end.
Static vs. Dynamic
Don’t mess this up. Dynamic ropes stretch a lot. Static ropes do not, so they are not for lead climbing! Because static ropes don’t stretch, climbers typically use them for hauling loads on big-walls, or fixing lines on new routes. Static ropes can be used for top-roping, but never in a situation where a climber might fall on the rope. The elastic qualities of a dynamic rope are what make falling on lead safe because, with rope stretch, the forces on the gear, belayer and climber go way down. Dynamic ropes are what you will use 99 percent of the time.
Single. Double. Twin.
The next most important categorization is knowing whether your rope is certified as a single rope, a double rope, or a twin rope. All climbing ropes come with a little tag, placed on each rope end, that tells you the rope’s certification. Single ropes are identified with a number “1” inside a circle. Double (or “half”) ropes have “1/2” inside a circle. Twin ropes have a sideways “8” inside a circle. (This information can also be found on the rope’s packaging.)
This certification—a standard regulated by the Union Internationale des Associations d’Alpinisme (UIAA)—deems a rope’s approved usage.
Single ropes—ropes certified to be used as a single strand that is clipped to every piece of protection—are the most common ropes used in rock climbing. Typically, single ropes come in 9.2- to 10.2-mm diameters, but there are single ropes on the market that are as thin as 8.9 mm and as thick as 11 mm.
Single ropes are ideal for most climbing situations, from top-roping to single-pitch sport climbing and even to multi-pitch trad climbing.
Double/half ropes—two ropes used together but with each strand clipped to separate pieces of protection—are sometimes used on trad climbs that have zigzagging protection (where a single rope would create too much rope drag), or on ice/alpine climbs, where you need two ropes to rappel. These ropes are typically 8- to 9-mm thick.
Twin ropes—two ropes clipped together through every piece of protection—are the thinnest ropes of all, going down to 7.5 mm in diameter.
Never confuse these certifications: using a double or twin rope as a single rope could result in a catastrophe.
Diameter
Unlike the American waistline, climbing ropes have been getting skinnier. Twenty years ago, almost all ropes were 11 mm or thicker in diameter. Now, most single ropes are between 9 and 10 mm. To get ropes thinner without sacrificing their strength, manufacturers have improved weaving technologies and especially learned how to make thinner sheaths.
Technology, however, can only do so much, and in general thinner ropes equal a compromise in durability, especially when it comes to the sheath. On the other hand, thinner ropes are lighter, which means less weight tugging down on you on a long lead.
If you mostly top-rope, or occassionally do some leading on sub 100-foot pitches, then weight might be less of a concern for you, and you should go with a thicker rope (between 10 and 10.5 mm) because they will last longer.
For general leading on sport and trad climbs, ropes in the 9.6 to 9.9 mm range are a solid bet. Because skinnier ropes are difficult to grip, in inexperienced hands they can be harder to belay, and result in faster, less-controlled rappels. Ropes in the 9.2 to 9.5 mm range are better suited to more experienced climbers/belayers.
Nothing wears out a rope’s sheath like sport climbing: the abuse of hangdogging and falling on a long-term project can abrade through the sheath quickly, sometimes in a matter of days. If you are a sport climber who enjoys working on projects—which involves a lot of falling before you finally redpoint—you might consider using two ropes of two different diameters. One rope would be your workhorse: thicker and more durable, around 9.8 mm. The second rope would be ultra-light, between 9.1 and 9.4 mm, and reserved for redpoint/performance burns, where every gram of weight counts.
That said, diameter is but one element that contributes to a rope’s durability. There are 9.2 mm ropes on the market that have outperformed and outlived ropes of much thicker girth due to higher quality manufacturing.
Consider your own weight, too. Beefier climbers will want a beefier rope.
A final consideration is your belay device. Know what range of rope diameters your belay device is approved to work with and don’t stray outside those parameters.
Length
Just as ropes are getting skinnier, so are they getting longer. Fifty-meter ropes (165 feet) used to be standard 20 years ago. Now, 60- and 70-meter (200- and 230-foot) ropes are standard, and some sport climbers are even opting for 80- and 100-meter ropes to tackle today’s brand of ultra-long routes.
If you are climbing at a single-pitch crag, whether for top-roping or leading, the length of the crag’s routes will determine how long your rope should be. If the routes are 100 feet tall, then a 60-meter rope is just barely long enough for you to climb up and then be lowered down.
Many climbing accidents occur every year when climbers lower off of climbs on ropes that are too short to get them back to the ground; the belayer isn’t paying attention and the end of the rope slips through their hands, and the climber drops to the ground. Always tie a knot in the other end of the rope in order to prevent this type of accident.
When your rope’s sheath wears through (from repeated hangdogging/falling, etc.), you don’t need to buy a whole new rope; you can just cut the rope above the damaged area (which typically appears 10 to 15 feet from the rope’s end) and continue using the cord. Indeed, over the course of your rope’s life, you will end up cutting your rope a number of times—lobbing 10 to 15 feet off the end each time. Suddenly, your 60-meter rope is down to 50 meters, and isn’t long enough to use at your 100-foot tall home crag.
Two things: 1) keep a written record of how long your rope is after each trimming so you know its approximate length, and always be conservative when climbing new routes; 2) Consider getting a longer cord! Even if you are only climbing 30-meter long routes, a 70-meter rope might be a sound investment because you have 10 meters you can hack off the ends before your rope is too short to use.
 Dry treatment
Standard non-treated ropes will absorb water; using one to ice climb would quickly result in your rope becoming as useless as a frozen-solid garden hose left out all winter. Manufacturers have developed a variety of procedures to give ropes a degree of waterproofness, either by bathing just the outer sheath in a waterproofing treatment, or by waterproofing both the sheath and core.
Dry-treated ropes are mandatory for any type of ice or alpine climbing. Also, according to a UIAA report, a sopping-wet rope weakens the nylon and could potentially be unsafe.
Dry-treated ropes are more expensive than standard ropes. If you don’t plan to use your rope for ice or alpine climbing, then you can save some bucks by going with a standard rope. Standard ropes also seem to pick up less dirt particles than dry-treated ropes, and therefore stay cleaner.
Bi-color. Rope markers.
A “bi-color” rope employs two distinct colors or patterns on either half. This feature allows you to easily find the middle of the rope—very helpful when setting up belays or when lowering your partner off of a pitch. Other ropes use a foot-long black mark to identify the rope’s middle.
Of course, as soon as you cut the ends of your rope, these markings become less exact—a potentially dangerous situation. Another downside is that bi-color ropes tend to be more expensive.
Finally, don’t use a magic marker to mark the middle of your rope. A report conducted by the UIAA found that using any kind of pen or marker to mark the rope results in a 50 percent decrease in strength!
Got questions? Post them below, and we’ll get right back to you. For more climbing gear advice and news, check out Andrew Bisharat’s excellent blog—Evening Sends—one of our favs. —The Eds.
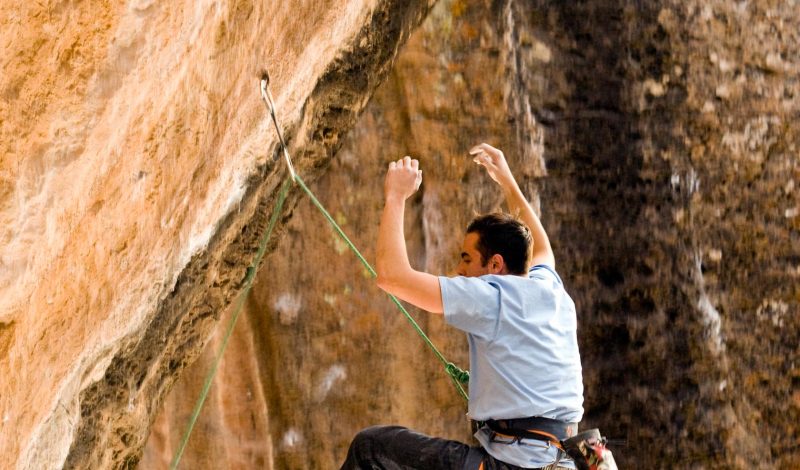
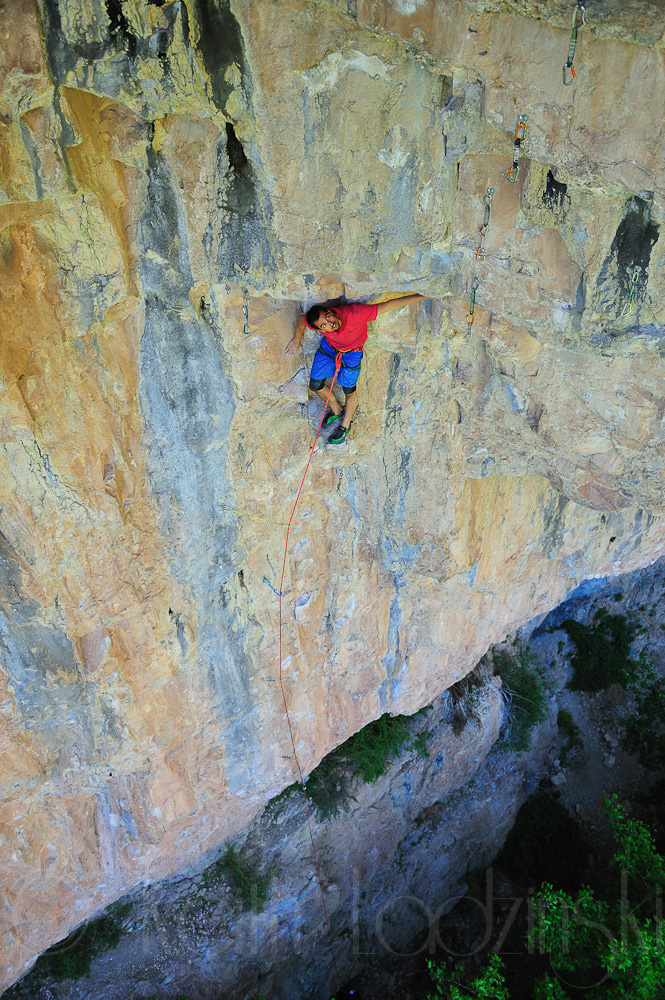
Photos: Bisharat on the ledge by Keith Ladzinski (www.ladzinski.com)